After sharing my Shape Dividers library in the Oxygen Builder Facebook group (See Message) i was asked by Simon Kress from Oxystuff to create a blog post where he can link to from Oxystuff.com.
I thought it was a good idea to turn it into a tutorial about Shape Dividers in Oxygen Builder. This tutorial will have two parts:
- Explanation on how to use the Shape Dividers library that i created.
- Explanation about how you can easily create your own Shape Dividers and add them to the Oxygen Builder.
Let’s start with the first one.
Using the Shape Dividers that I created.
The shape dividers that i created are in a design library. To use them, you have to add the design library to your Oxygen Website.
- Go to Oxygen > Settings > Library and click the checkbox ” Enable 3rd Party Design Sets”. After that, click “Update”. Now you can click “+ Add Design Set”.
- In the box “Site Key” add the following code: aHR0cHM6Ly9zaGFwZWRpdmlkZXJzLm94eWxheW91dHMuY29tCk94eSBTaGFwZSBEaXZpZGVycwpiQWRFZ0IzZU5Qdzc= and click “Add Source Site”.
- Open the Oxygen visual builder. Click + Add > Library > Design Sets > Oxy Shape Dividers > Sections & Elements > Content. There you will see the 17 Shape Dividers I created. (will create more in the future)
- Click on one of the shape dividers and it will be added as a section with a top and bottom divider. I made the background color of the section blue so that you can see what it looks like. You can style that just like any other section.

- The two dividers are code blocks and are positioned absolute. The dividers are white.
- If you only want one divider, then you have two options. You can delete the code block/divider you don’t want or you can make the code block/divider display none. To delete it, just select the code block and click the trash bin icon in the left menu. To hide it, select the code block > Advanced > Layout > Display > none.

- If you want to adjust the height of the divider then select the code block go to Advanced > Size & Spacing > Height.

- To change the color of the divider select code block, go to Primary or Advanced > CSS and add a color to “fill:”
- If you want to see the code of the div and divider, then select the code block and go to Primary or Advanced > PHP & HTML.

That’s it! That covers all the steps to add Shape Dividers to Oxygen trough my design library. If you have any questions don’t hesitate to contact me at [email protected].
Let’s move on to the second one.
Create your own Shape Dividers and add them to the Oxygen Builder
For creating your own shape dividers, there are different methods of how we can do that. Shape dividers are SVG’s that we can create with graphic software or websites that give you the option to create SVG’s.
- Affinity Designer. My personal choice for creating any vector-based image/graphic. https://affinity.serif.com/en-gb/designer/
- Figma. Awesome free software to create vector-based images/graphics. https://www.figma.com/
- Get Waves. Awesome free tool to create shape dividers. https://getwaves.io/
I know that there are a ton of other software/websites that I can list here but for the sake of this tutorial I will keep it to this three. Affinity Designer because you get an awesome piece of software for a onetime purchase. Figma because it is one of the best free tools out there that you can use immediately if you don’t own a vector-based piece of software. Get Waves because it creates shape dividers! Super easy to use. It doesn’t create complex/multi layer dividers though.. for that you need Affinity Designer or Figma.
I will discuss Figma and Get Waves because they are both free so nobody has to buy anything to make this tutorial work.
Let’s start with Get Waves.
Get Waves
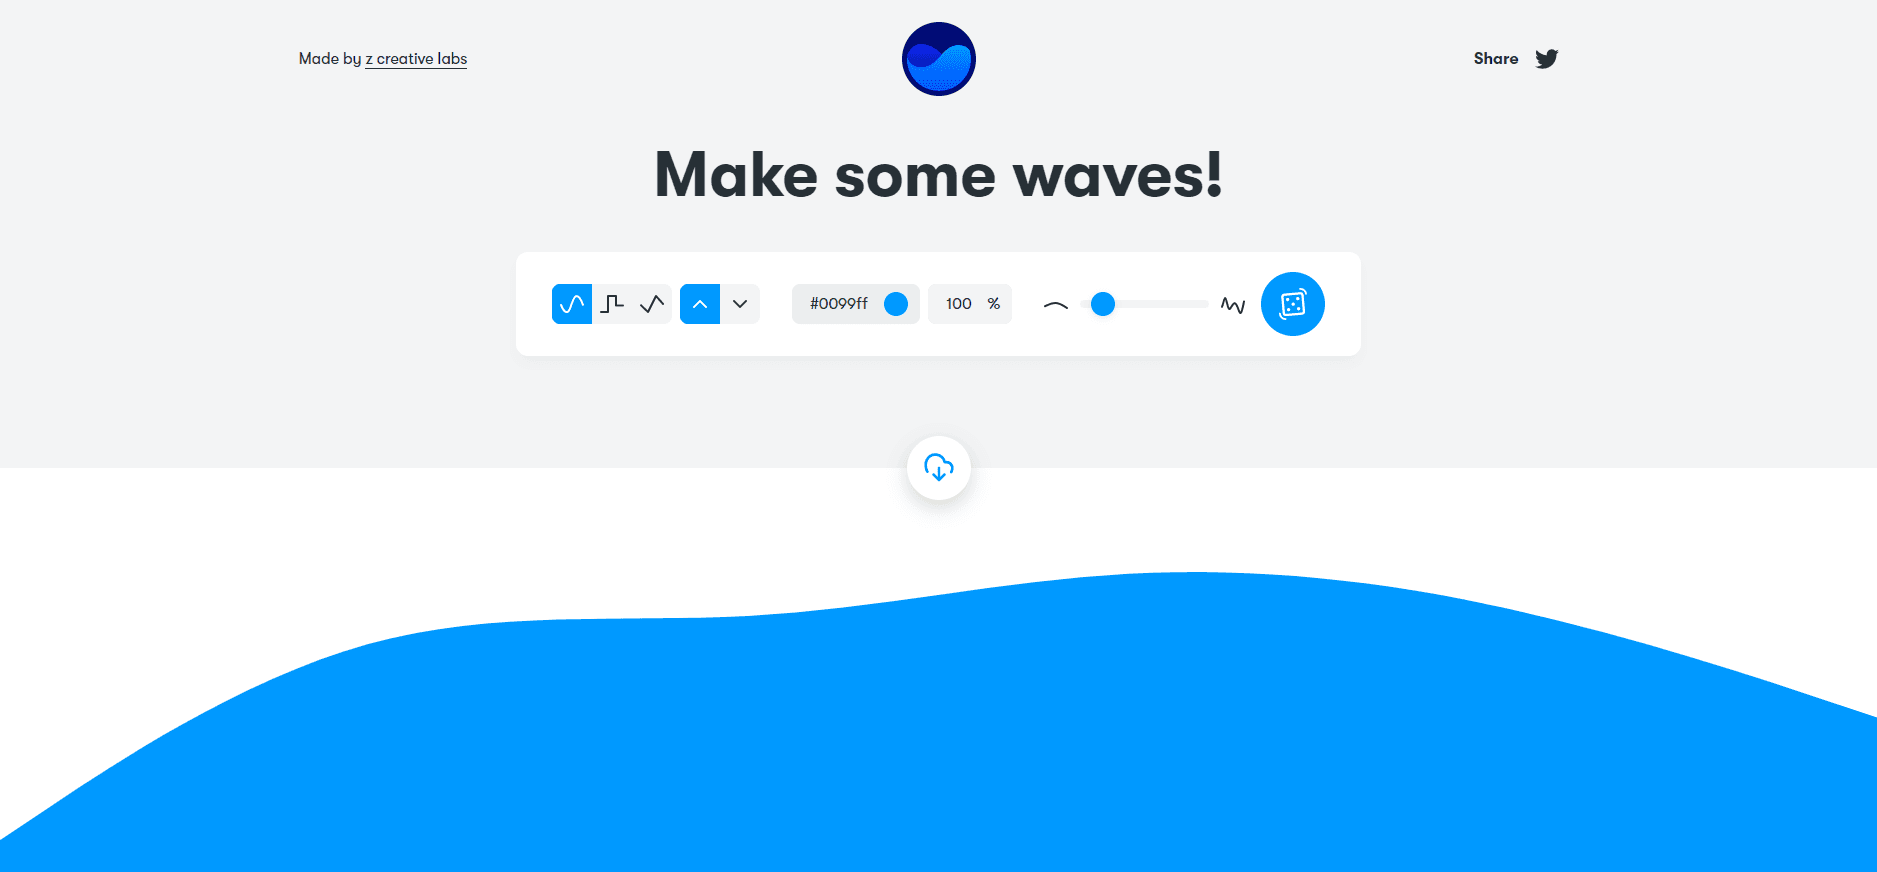
If you open the website https://getwaves.io/ you will see something like this:

There you can play around with the settings and create whatever you want! With the up and down arrows in the settings, you can choose a bottom or top divider. I will use the bottom divider in this tutorial. The same applies for the top divider. The button we are focussing on is the Download button:

If you click the download button, you will see a pop-up to download it as an SVG or to Copy as SVG code:
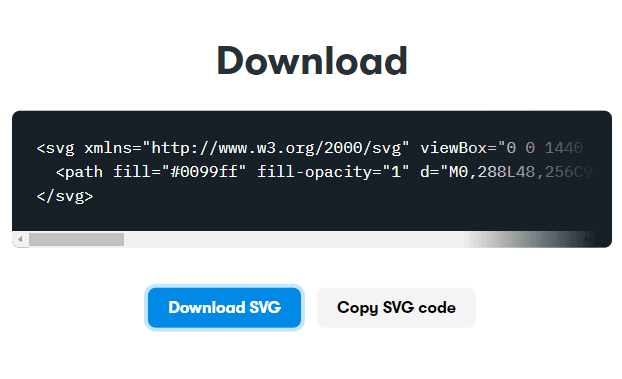
We will choose Copy SVG Code. Open Notepad and paste the code in there:

I think it is the best to use the same setup for shape dividers as I did with my shape dividers library. So we will compare this code with my SVG code from the library. To do that just open up Oxygen Builder and open the Visual builder. Go to the shape divider library and insert the first section/divider. Click on the bottom divider and open the PHP & HTML tab:

Copy the code where the <svg> starts and where the </svg> ends. That wiil produce the following code:

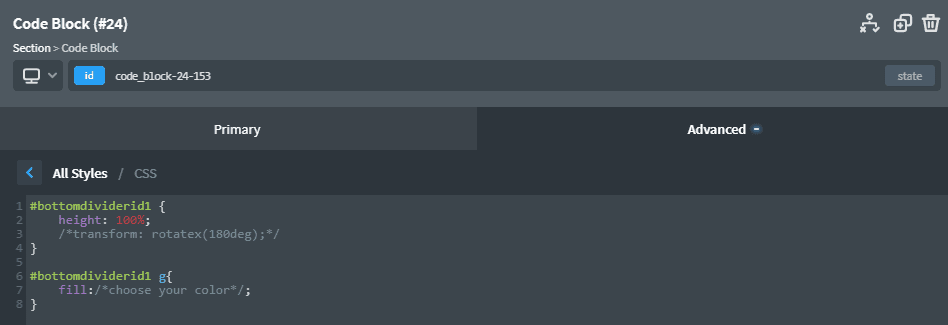
As you noticed I also wrapped the SVG in a DIV and gave it a CLASS and ID. Just to make it more clear and to use the ID to style the SVG. Look at the CSS tab.
Paste that code also in the notepad so we can compare the two codes:

Ok, let’s break it down. At first you will notice that the first one has more code. This is because the shape is more complex. I will go through the different elements one by one.
- Both have the ” parameter. This declares the namespace and needs to be in there.
- Both have the viewBox attribute and declares the width and height of the divider. They are both different but doesn’t matter for our use. We will make them full width and responsive.
- Mine code has the preserveAspectRatio=none. We don’t need to preserve the aspect ratio, so I put it at none.
- Both have a “fill” to determine the color of the divider. As you can see mine is within the “g” element. The “g” element is a container to group SVG elements. This becomes more important when you have more complex SVG dividers. But I just use them on all my dividers to style them with CSS.

- The first one has a “fill-opacity”. This becomes more useful if you have multi-layered SVG’s. It will give you the option to add an opacity to your divider. I will explain later in the Figma example.
- Then both have probably the most important one.. <path d=” and then a whole bunch of numbers and letters. This is the actual SVG graphic. The first one is more complex, so it creates a longer code. My <path ends with a / but that is not necessary. The first one doesn’t have it. It will work both ways.
- As last, I put in a width and height of 100% in my divider to make the SVG/Divider take up the full width and height of the code block.
Ok, let’s alter the first one so it is more like my version of SVG:

Now both SVG’s are the same except for the “d=” element. Now you can copy that first SVG code and paste it into the shape dividers that I provided in the library. Maybe wise to copy my shape divider first:

Then select the bottom divider on the copied section/divider and paste the first SVG code in the PHP & HTML code. Don’t remove the Wrapping DIV:

As you can see the bottom divider has the new SVG/Shape added to it! There are two more steps that we still need to take care of. Changing the iD and CLASS of the wrapping DIV and changing it in the CSS tab. Otherwise you will have a problem if you use more than one divider on a page:


I will name all my dividers the same way and just increase the number on the end. So if you don’t want any conflict with my dividers just give them a unique name. So in this case mine is “bottomdividerid1” and “bottomdivider1”. Just change yours to “bottomdividercompanyid1” and “bottomdividercompany1”. You can use your company name or your own name, whatever you prefer.
After that you can follow the same steps for the top divider. After changing both of them, just select the whole section and save it as a Re-Usable element so you can use it wherever you like.
That’s it! With Get Waves you can easily create your own shape dividers, alter them, paste them in a copy of my shape dividers and save them as a new divider! Awesome!
Next step, we will create a more complex shape divider with Figma!
Figma
Figma has many options which I won’t touch on in this particular tutorial. There are a lot of tutorials out there to help you become familiar with the Figma platform and its other uses.
After you created an account with Figma, you can use the web editor to start a new project. Create a shape with the pen tool and you will see something like this:

To make a multi layer divider just copy and paste the existing divider and alter the shape. In the next picture you see that I copied and altered the
shapes. If you double click on the copied divider, then you will see little dots that you can drag around and change the shape:

The copied shape will be on top of the first divider and we want to put it behind. As you can see in the left menu, the copied divider with the name “Vector” is on top of the original divider. Just drag it down below the original divider:

Then we want to add an opacity to our copied divider. On the right menu you can add an opacity. I have chosen for 70%:

Now we have to put them on top of each other. Select both of them (click one, use shift then click the other) and use the align options on the right menu:

Click on the first one to align them left and then click the 6th one to align the bottom. You should see something like this:

As you can see the copied divider has an opacity and is behind the original divider. Select both of them, right click and choose “Group Selection”. Select the group and click on the “Export” button at the bottom of the right menu. Choose SVG and click “Export Group 1”:

The SVG will automatically be downloaded to your computer. Select the SVG on your computer and open with Notepad:

Now you see that this SVG has two <path d=. Because this SVG is more complex and consists of two SVG’s. Now you also see the “fill-opacity” becoming useful. Let’s compare this to my SVG code. We will just use the one I had in the previous example:

You notice that this looks more like my SVG code. Let’s alter the code of the first SVG:

Let’s break down what I changed.
- I changed the width and height to 100% on the first SVG.
- I removed the “fill” from the first SVG. In <svg> and in <path>.
- I created the <g> element on the first SVG and put the “fill” in there.
- I left the “fill-opacity in the first <path> of the first SVG.
- I added the preserveAspectRatio=none to the first SVG
Now you can copy that first SVG code and paste it into the shape dividers that I provided in the library. It may be wise to copy my shape divider first:
Then select the bottom divider on the copied section/divider and paste the first SVG code in the PHP & HTML code. Don’t remove the Wrapping DIV:

As you can see the bottom divider has the new SVG/Shape added to it! There are two more steps that we need to take care of. Changing the iD and CLASS of the wrapping DIV and changing it in the CSS tab. Otherwise you will have a problem if you use more than one divider on a page:
I will name all my dividers the same way and just increase the number on the end. So if you don’t want any conflict with my dividers just give them a unique name. So in this case mine is “bottomdividerid1” and “bottomdivider1”. Just change yours to “bottomdividercompanyid1” and “bottomdividercompany1”. You can use your company name or your own name, whatever you prefer.
After that you can follow the same steps for the top divider. After changing both of them, just select the whole section and save it as a Re-Usable element so you can use it wherever you like.
That’s it! With Get Waves and Figma you can create your own custom shape dividers and add them to the Oxygen Builder!
I hope this tutorial was helpful. If you have any questions or feedback on this article, please contact me @ [email protected].
Before you go, did you check our best free stock photos sites in 2020? No? Check it here now.

Enjoy creating shape dividers! 😉