Mastering the Art of Domain Registration

Let’s face it: your domain name isn’t just a web address: it’s your digital handshake, your first impression, and sometimes the only reason a potential client remembers you exist. We’ve seen countless small businesses scramble to reclaim expired domains or panic when they realize their nephew who “set everything up” has vanished with the login credentials.
Securing a custom domain for your business doesn’t have to be a nerve-wracking ordeal, but it does demand attention to detail and a bit of strategic thinking.
Whether you’re launching a fresh venture or finally taking control of your online presence after years of cobbling together free solutions, the steps below will walk you through choosing, registering, and protecting a domain that actually works for your business.
Why Your Custom Domain Matters More Than Ever
The domain name industry has evolved dramatically over the past decade. By the end of 2024, global domain registrations climbed to approximately 364.3 million, with country-code domains like .ca experiencing steady growth year over year. While .com remains the most recognized extension, Canadian businesses increasingly turn to .ca domains to build local trust and signal their commitment to serving domestic customers. For companies targeting Canadian markets, a .ca domain can improve local search rankings and demonstrate compliance with Canadian presence requirements, reassuring customers that they’re dealing with a legitimate local entity.

Meanwhile, about 83% of small businesses in North America now maintain websites, but a surprising 17% still operate offline, often believing a website isn’t relevant to their industry. This gap represents both an opportunity and a cautionary tale. The businesses thriving online have recognized that a professional custom domain establishes credibility in ways that free subdomains or third-party platforms never can. When you own your domain, you control your brand, your email addresses, and your ability to pivot or scale without being held hostage by a single provider.
Step One: Choose a Domain Name That Actually Works
Brainstorming a domain name should be equal parts creativity and pragmatism. Start by aiming for something short and brandable, ideally under 15 characters, that people can spell without needing a tutorial. Avoid hyphens, numbers, or cute misspellings that sound clever in a meeting but cause endless confusion when you’re dictating your email address over the phone. If your business name is already taken as a .com, resist the urge to append “official” or “thebest” to the front. Instead, consider whether a .ca domain might serve you better, especially if your customer base is concentrated in Canada.
Think about how your domain sounds when spoken aloud. Will it be easy to share on a podcast, in a video, or during a networking event? Write it down and show it to someone unfamiliar with your business. If they pause, squint, or ask for clarification, that’s a red flag. You want a domain that feels intuitive, memorable, and aligned with your brand identity. For many Canadian businesses, pairing a clear business name with the .ca extension strikes the right balance between local trust and global accessibility. To learn more about the strategic advantages of .ca versus .com, check out our deep dive on .ca vs .com domains.
Balancing Brand Identity and SEO
While exact-match keyword domains have lost some of their SEO punch over the years, your domain name still plays a supporting role in how search engines and users perceive your site. A clear, relevant name can reinforce your industry focus without resorting to stuffing keywords. For example, “TorontoPlumbers.ca” signals geography and service, but “QuickFixPlumbing.ca” offers brand ability and flexibility if you expand beyond Toronto. Neither approach is wrong; it depends on whether you prioritize immediate keyword association or long-term brand development.
Remember that your domain will appear in every email signature, social media profile, and marketing material you produce. It will be part of your invoice headers, business cards, and vehicle wraps. Choose a name you can live with for years, not one that pigeonholes you into a narrow niche you might outgrow. If you’re building a WordPress site designed to convert visitors into leads, a strong, memorable domain is the foundation of that journey. For insights on structuring your site to maximize conversions, explore our guide to mastering website structure for success.
Step Two: Select a Reputable Domain Registrar
Not all domain registrars are created equal. While prices for .ca or .com registrations might vary by only a few dollars per year, the quality of customer support, security features, and account management tools can differ dramatically. Look for registrars accredited by CIRA for .ca domains, examples include Webnames.ca and Web Hosting Canada or ICANN, accredited registrars for .com and other generic top-level domains. These accreditations ensure the registrar adheres to industry standards and regulatory requirements.
When evaluating registrars, prioritize those that offer transparent pricing without surprise renewal fees, robust security options like two-factor authentication and domain locking, and straightforward DNS management interfaces. Some registrars bundle domain registration with hosting packages, which can simplify billing but may also lock you into a single provider. We generally recommend keeping your domain registration separate from your hosting account. This separation gives you flexibility to switch hosts without risking downtime or complications, and it ensures you maintain control over your domain even if you change service providers.
Understanding Registrar vs. Hosting Provider
Many business owners confuse domain registration with web hosting, assuming they’re the same service. They’re not. Your domain registrar is where you purchase and manage the rights to your domain name. Your hosting provider is where your website files, databases, and email accounts physically reside. You can—and often should—use different companies for each. This approach protects you if a hosting provider experiences downtime, bankruptcy, or policy changes. If your domain is registered elsewhere, you can simply update your DNS records to point to a new host without losing your web address.
For Canadian businesses, choosing a Canadian hosting provider can improve page load speeds for local visitors and simplify compliance with data sovereignty requirements. Our article on Canadian hosting for WordPress explores why geography matters for hosting performance and security. Regardless of where you host, the key is to ensure your domain registrar gives you full DNS control so you can connect your domain to any hosting service, email provider, or third-party application without friction.
Step Three: Register Your Domain and Configure Core Settings
Once you’ve chosen a name and registrar, registration itself is straightforward. Search for your desired domain on the registrar’s website, add it to your cart, and select a registration period. Most registrars allow you to register domains for one to ten years at a time. Longer registration periods can lock in current pricing and signal stability to search engines, though the upfront cost is higher. During checkout, you’ll be prompted to provide contact information—name, organization, postal address, email, and phone number—as required by ICANN’s domain registration policies.
At this stage, pay close attention to add-on services offered at checkout. Two are non-negotiable: WHOIS privacy protection and auto-renewal. WHOIS privacy, sometimes called domain privacy or private registration, shields your personal contact details from the public WHOIS database. Without it, your name, address, phone number, and email are visible to anyone who searches for your domain, making you a target for spam, phishing, and unsolicited sales calls. Enable WHOIS privacy every single time. It typically costs a few extra dollars per year and is worth every penny.
Enable Auto-Renewal to Avoid Domain Expiration Disasters
Auto-renewal is your insurance policy against accidentally losing your domain because you missed a renewal notice buried in a junk folder. When auto-renewal is active, your registrar will automatically charge your payment method before the domain expires, ensuring continuity. Some registrars send multiple reminders leading up to expiration, but relying on email notifications alone is risky. People change email addresses, spam filters evolve, and payment methods expire. By enabling auto-renewal and keeping your payment details current, you eliminate the single most common cause of domain loss for small businesses.
If a domain does expire, most registrars provide a grace period during which you can renew without penalty, followed by a redemption period that comes with hefty fees. After that, the domain is released back into the public pool, where anyone—including competitors or domain squatters—can snap it up. We’ve witnessed clients lose brand-critical domains this way, then face extortion-level prices to buy them back. Don’t let that happen to you. Set auto-renewal, calendar a yearly reminder to verify your payment method is still valid, and sleep soundly knowing your domain won’t vanish overnight.
Step Four: Secure Your Domain Registrar Account
Registering a domain is only half the battle. Protecting access to your registrar account is just as critical. Domain hijacking—where attackers gain unauthorized access to your account and transfer your domain to another registrar or point your DNS records to malicious servers—has become alarmingly common. These attacks can cripple your email, redirect your website traffic, and damage your brand reputation overnight. Fortunately, modern security practices can dramatically reduce your risk.
Start by using a dedicated administrative email address for your domain registrar account. Avoid using a generic email address hosted on the same domain you’re registering, since you could lose access if DNS records are tampered with. Instead, use a separate personal email from a trusted provider like Gmail, secured with a strong, unique password and two-factor authentication. This creates a fallback channel for account recovery that remains independent of the domain itself.
Implement Two-Factor Authentication and Registrar Lock
Two-factor authentication adds a critical layer of defense by requiring a second verification step—typically a code from an authenticator app or SMS message—whenever you log in. Even if an attacker steals your password through phishing or a data breach, they won’t be able to access your account without the second factor. Most reputable registrars support 2FA, and some offer hardware security keys for even stronger protection. Enable 2FA immediately after registration and store backup codes in a secure location in case you lose access to your authentication device.
In addition to 2FA, activate registrar lock (sometimes called domain lock or transfer lock) on every domain you own. Registrar lock prevents unauthorized transfers to another registrar by requiring you to explicitly unlock the domain before initiating a transfer. This simple toggle has stopped countless hijacking attempts. If you ever do need to transfer your domain to a new registrar—for example, to consolidate multiple domains or switch to a provider with better pricing—you can temporarily disable the lock, complete the transfer, and re-enable it at the destination registrar.
For agencies or businesses managing multiple domains, consider consolidating them under a single registrar whenever practical. This simplifies renewals, reduces the number of accounts to secure, and makes it easier to maintain consistent security policies across your domain portfolio. Keep a centralized inventory of all registered domains, including registration dates, renewal dates, registrar accounts, and associated contact emails, so you can proactively manage expirations and security reviews.
Step Five: Connect Your Domain to WordPress Hosting
With your domain registered and secured, the next step is connecting it to your WordPress hosting environment. This involves updating DNS records at your registrar to point your domain to your hosting provider’s servers. Your host will provide specific nameserver addresses—typically something like ns1.hostingprovider.com and ns2.hostingprovider.com—that you’ll enter in your registrar’s DNS management panel. Once updated, DNS propagation can take anywhere from a few minutes to 48 hours, though most changes complete within a few hours.
If you’re using a managed WordPress host, they often provide guided walkthroughs or even automated wizards to connect your domain. Some registrars also integrate directly with popular hosts, allowing you to connect domains with a few clicks. However you approach it, verify the connection by visiting your domain in a browser once propagation completes. You should see your WordPress site load correctly, with a valid SSL certificate indicated by the padlock icon in the address bar. If you encounter errors, double-check that you’ve entered the correct nameservers and that your hosting account is active and configured for your domain.
Understanding DNS Records and Email Routing
Beyond nameservers, DNS management involves configuring specific record types to control how your domain behaves. An A record maps your domain to an IPv4 address, typically your hosting server’s IP. A CNAME record creates an alias, often used for subdomains like www or blog. MX records direct email traffic to your mail server, whether that’s provided by your host, a third-party service like Google Workspace, or a standalone email provider. TXT records are used for domain verification, email authentication protocols like SPF, DKIM, and DMARC, and other metadata.
When setting up custom email addresses using your domain—such as hello@yourbusiness.ca—you’ll need to configure MX records and often SPF, DKIM, and DMARC records to ensure your messages aren’t flagged as spam. SPF specifies which mail servers are authorized to send email on behalf of your domain. DKIM adds a digital signature to outgoing messages, verifying they haven’t been tampered with in transit. DMARC builds on SPF and DKIM by telling receiving servers how to handle messages that fail authentication checks. Together, these protocols dramatically improve email deliverability and protect your domain from being spoofed by phishers.
Most email providers supply documentation with the exact DNS records you need to add. Copy these values carefully, as even a small typo can break email delivery. After adding or updating DNS records, use online tools to verify they’ve propagated correctly and that your email authentication is configured properly. This attention to detail prevents the frustration of sent emails vanishing into spam folders or, worse, being rejected entirely by recipient servers.
Step Six: Consider Multi-Domain Strategies and Advanced Use Cases
For some businesses, a single domain is sufficient. For others—especially agencies, franchises, or companies with multiple product lines—managing several domains becomes part of the strategy. You might register both .ca and .com versions of your brand to prevent competitors or squatters from grabbing them. You could set up service-specific domains for landing pages or marketing campaigns, redirecting traffic to your main site or hosting unique content. Alternatively, you might use subdomains like shop.yourbusiness.ca or blog.yourbusiness.ca to organize content while keeping everything under one primary domain.
When managing multiple domains, discipline is essential. Maintain a spreadsheet or use a domain management tool to track registrations, renewals, associated email accounts, and hosting assignments. Set calendar reminders well in advance of renewal dates, even if auto-renewal is enabled, so you can review whether each domain still serves a purpose. Retiring unused domains reduces costs and simplifies your security posture, but never let a valuable brand-related domain expire unless you’re absolutely certain you won’t need it again.
Leveraging API Integrations and Automation
As your domain portfolio grows, manual management becomes tedious and error-prone. Many registrars offer APIs that let you automate domain registration, renewal, DNS updates, and monitoring. WordPress agencies building custom solutions for clients can integrate domain provisioning directly into client onboarding workflows, automatically registering domains, configuring DNS, and deploying WordPress instances without manual intervention. For more on integrating APIs into your WordPress environment, see our guide on WordPress API integrations.
Automation also extends to monitoring. Set up alerts for domain expiration, DNS changes, or SSL certificate renewals so you’re notified immediately if something requires attention. Some registrars and third-party services offer domain monitoring that detects unauthorized transfers, nameserver changes, or WHOIS updates, giving you a chance to respond before damage occurs. These proactive measures are especially valuable for agencies managing domains on behalf of clients, where lapses can erode trust and trigger support crises.
Step Seven: Maintain Ongoing Domain Hygiene and Security
Securing a custom domain isn’t a one-time task—it’s an ongoing commitment. Schedule annual reviews of your domain portfolio to verify that registrar account credentials are current, 2FA is enabled, auto-renewal is active, and WHOIS privacy is in place. Check that DNS records haven’t drifted due to hosting changes or service migrations, and confirm that email authentication protocols remain correctly configured. If you’ve changed business email addresses, update the administrative contact at your registrar to ensure you receive critical notifications.
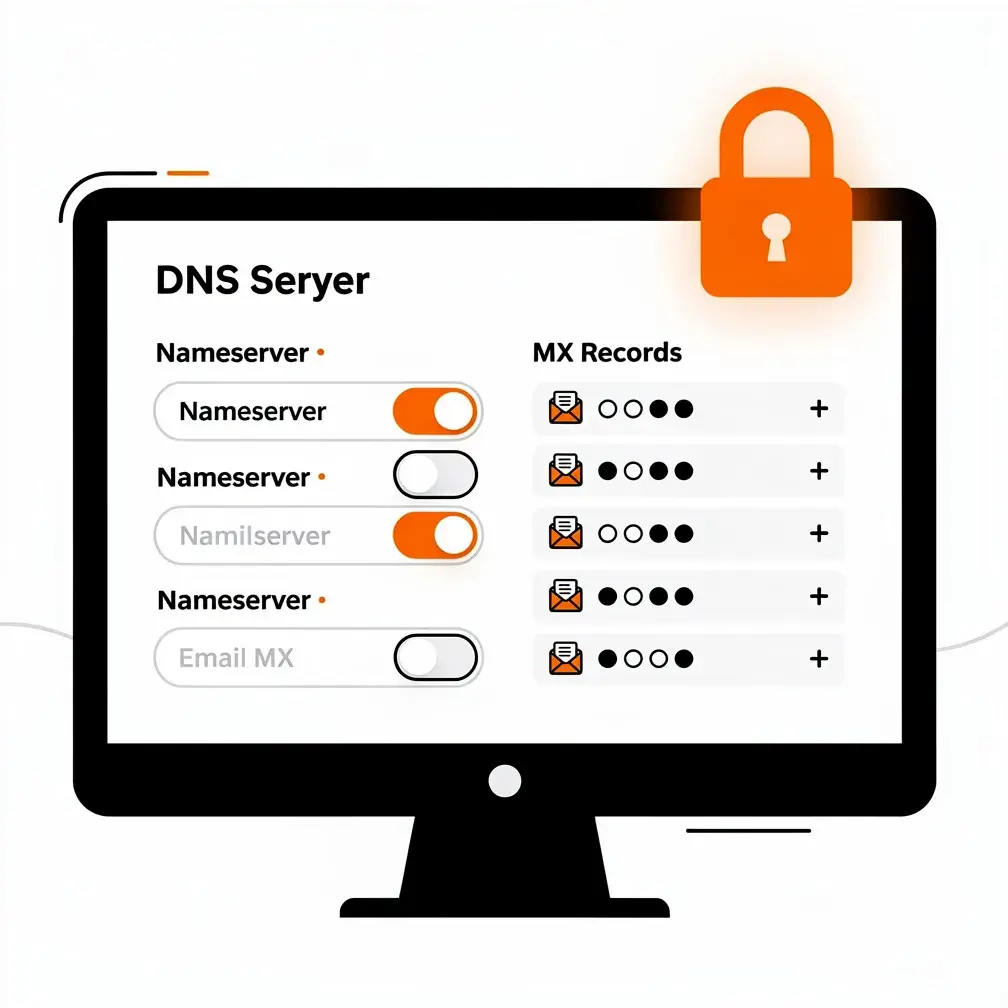
Keep your registrar and hosting provider informed of any business structure changes, such as incorporation, name changes, or address updates. For .ca domains, maintaining Canadian presence requirements means updating your registrant information if your legal status changes. Failure to do so can result in domain suspension or loss. Similarly, if your business is sold or transferred, ensure domain ownership is legally and administratively transferred to the new owner through the registrar’s designated process, rather than simply handing over login credentials.
Protecting Against Domain Disputes and Hijacking
Despite best efforts, disputes and security incidents can arise. The Canadian Internet Registration Authority operates a domain name dispute resolution policy to handle conflicts over .ca domains, such as cybersquatting or trademark infringement claims. If someone registers a domain that infringes on your trademark or business name, you can file a complaint through CIRA’s dispute resolution process. Similarly, ICANN provides mechanisms for resolving disputes over generic top-level domains. Familiarize yourself with these policies so you know your options if a competitor or bad actor targets your brand.
In the event of suspected domain hijacking, act immediately. Contact your registrar’s support team, initiate account recovery procedures, and document all unauthorized changes. If your domain has been transferred to another registrar, file a complaint with both the losing and gaining registrars and escalate to ICANN or CIRA if necessary. Time is critical, as hijackers can wreak havoc on your email, website, and reputation within hours. Having 2FA, registrar lock, and a secure administrative email in place makes recovery faster and less painful.
Final Thoughts: Domain Ownership as a Pillar of Digital Strategy
Securing a custom domain for your business is more than a technical checklist—it’s a strategic investment in brand identity, customer trust, and operational resilience. By choosing a memorable, relevant domain name, selecting a reputable registrar, configuring robust security measures, and maintaining disciplined domain hygiene, you lay the foundation for a digital presence that can grow and adapt alongside your business. Whether you’re a startup finding your footing or an established company reclaiming control from fragmented providers, the steps outlined here provide a roadmap to domain ownership done right.
We’ve guided countless Canadian businesses through this process, and the patterns are consistent: businesses that treat their domains as strategic assets—rather than afterthoughts—experience fewer disruptions, stronger brand recognition, and greater confidence in their online operations. Your domain is the anchor of your website, email, and marketing efforts. Secure it properly, protect it vigilantly, and it will serve you well for years to come.
Frequently Asked Questions
How do I pick a domain name that people will actually remember?
Focus on something short, brandable, and easy to spell—ideally under 15 characters—without hyphens, numbers, or clever misspellings that confuse people when spoken aloud. Test it by saying it over the phone or in conversation and see if people can repeat and spell it without hesitation. Aim for a name that feels intuitive, aligns with your brand, and won’t box you into a narrow niche as your business grows.
I’m a Canadian business—should I choose .ca or .com for my domain?
If your primary customers are in Canada, a .ca domain often makes more sense than chasing an unavailable or awkward .com. It signals you’re a legitimate local business, can improve local search visibility, and helps meet Canadian presence requirements. Many owners register both .ca and .com, but lead with .ca when local trust, compliance, and Canadian-focused branding are top priorities.
What’s the difference between a domain registrar and a hosting provider, and why should I separate them?
Your domain registrar is where you buy and manage your domain name, while your hosting provider stores your website files, databases, and often email. Using separate companies gives you flexibility and protection: if hosting goes down, changes policies, or shuts down, you can point your domain to a new host without losing your web address. This separation reduces risk and makes moving providers far less painful.
How do I stop my business from losing its domain by accident?
The simplest way is to enable auto-renewal and keep your payment method up to date. Auto-renewal prevents forgotten invoices, spam-filtered reminders, or staff turnover from causing an accidental expiration. Combine this with a yearly calendar reminder to check renewal dates, contact info, and billing details. Without these safeguards, you risk your domain entering redemption, being released, and potentially being grabbed by competitors or domain squatters.
What security steps should I take so no one hijacks my domain?
Start with a strong, unique password on a dedicated admin email that isn’t tied to the domain itself, then enable two-factor authentication on your registrar account. Turn on registrar lock to prevent unauthorized transfers and keep WHOIS privacy active to limit exposure of your contact details. For businesses managing multiple domains, centralizing them under one registrar and keeping an inventory of domains, renewal dates, and accounts makes regular security reviews much easier.